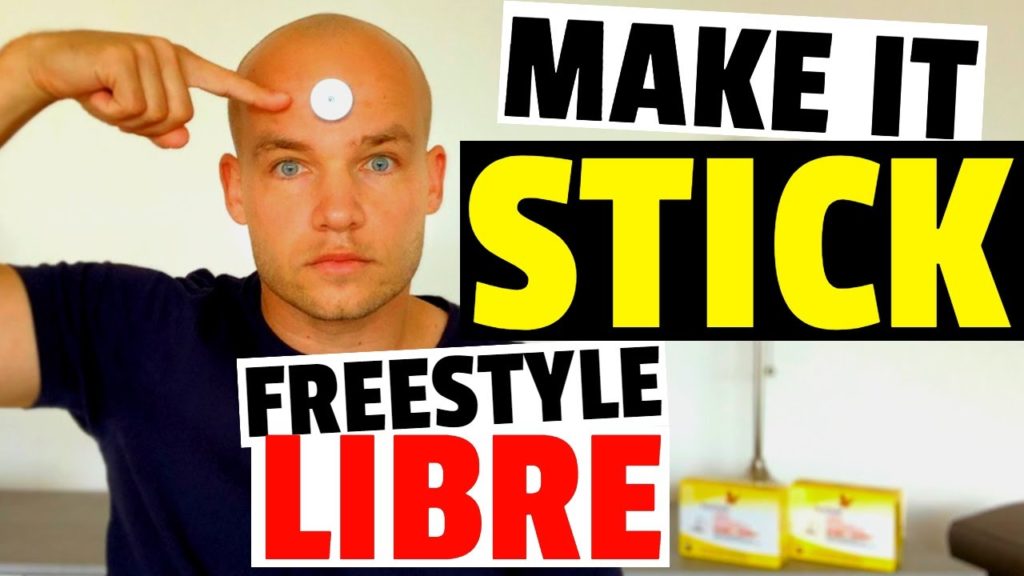
One of the most discussed topics in the diabetes community is how to make your FreeStyle Libre sensor stick for the full 14 days.
If you are like me, you have probably been losing your sensors or the sensors have been getting ripping out from time to time.
I put together a summary of 8 tips which will help you keep the sensor on for the full 2 weeks.

Tip #1: Find the sensor on the flattest spot of your back arm
Founding the flattest spot on your back arm will make it more difficult for the edges of your sensor to peel up and get ripped out. If your upper arm doesn’t work for you, consider alternative locations, such as thigh or chest. I am preparing a separate article about these alternative sites.
Tip #2: Before application, make sure your skin is dry, not oily, and without excessive hairs
I found it helpful to wash the site with soap and shaving it to make it smoother. Before application, I clean the area with an alcohol swab and let it dry really well.
Tip #3: Use extra adhesive to help the sensor adhesive stick stronger
An extra layer of glue between your skin and the sensor adhesive really makes a difference. I’ve had a very good experience with SkinTac which is a liquid adhesive and also be found in form of sticky swabs.
Tip #4: Use additional patch over the sensor
An extra patch like Simpatch or FSL sensor cover tape adds additional layer of protection over your sensor. Probably one of the most important points on my list.
Tip #5: Do not apply the sensor prior to working out, showering or swimming
The more time you allow for the sensor to stick without any contact with sweat or liquid, the longer it will last.
Tip #6: Smooth out the adhesive after applying to make sure it stick properly
Right after you apply the sensor, make sure that the edges of the sensor tape are pressed firmly against your skin. You can do this using an end of a teaspoon or any other flat object. This is such a great tip from Nerdabetic.
Extra pro-tip
Clinical studies show that Libre sensors are less accurate during the first 24 hours after insertion. If you apply your new sensor 24 hours before your current sensor expires you it will allow time for the new sensor to settle.
During the next 24 hours, you will have to wear two sensors for 1 day and you will not take any readings from the new sensor.
As soon as the current sensor expires you will activate the new sensor and it should provide you more accurate results right from the beginning.
This tip only applies if your sensor has a 60 minute activation period (not for sensors with a 24 hour activation period).
Tip #7: Pay attention!
This is so important! No matter how well you cleaned your skin and no matter how well you applied the sensor, there are specific places and activities where most sensors get ripped out!
- Airplane toilet – It is super narrow and I have heard so many stories of people ripping out the sensor right there while travelling.
- Doorframes – They really turn into your enemy when you are wearing Libre.
- Getting dressed and taking off your clothes (t-shirts/jumpers, bra straps)
- In a car (doorframe, buckling and unbuckling)
- Sliding a backpack strap down your arm
It really helps when you use a patch to cover up your sensor. If your T-shirt gets stuck while dressing up the sensor is more likely to survive this when protected with a patch.
Tip #8 Enjoy being part of the community – Wear the sensor with pride!
Sometimes I hear people inserting the sensors on an inner site of an arm or a leg to protect it and not rip it out.
Personally, I like to place it on the outside where the sensor is more visible. For me, it is a really cool way how to show that I am part of the community and to be easily recognizable for other diabetics.
I always get excited when I see someone else out there in the wild wearing Libre. So consider doing that to! You are not alone in this!
Here is a video from my YouTube channel where I discuss these 8 tips in detail. Enjoy watching!
Disclaimer: I am not a medical professional and everything here is my opinion in my own words. On this page, I am sharing my diabetic journey with you and do not provide medical advice. Certain links on this page are discount links and/or affiliate links. When you use affiliate links for your purchase I will receive a small provision from the seller.

